Easiest Wrist Warmers Pattern Anyone Can Make
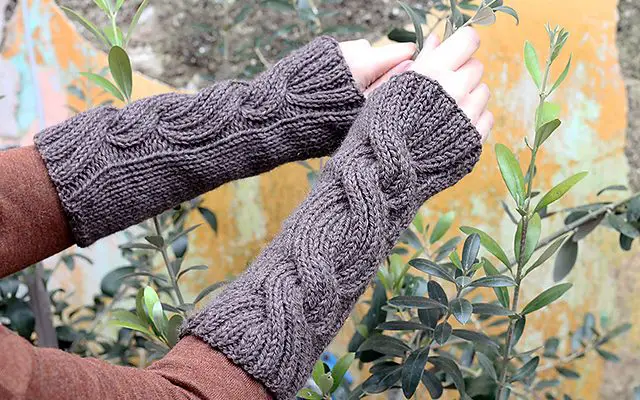
Do you want to learn how to knit wrist warmers? This fast and simple knitting project will keep your hands and arms toasty warm. This simple design is also a fantastic opportunity to get some experience with the Stockinette stitch. That way, it won’t be as tedious, and you’ll be able to appreciate the finished product.
Wrist warmers may be worn alone, but they’re also ideal for layering with gloves when it’s truly chilly outdoors. Don’t forget that these arm warmers make great crocheted presents. Pick up some beautiful yarns and begin knitting. This is the epitome of easy knitting. Don’t be afraid to experiment, even if they are done in Stockinette stitch. Experiment with various stitch designs.
Knit your wrist warmers longer if you want them to go all the way up to your arm. You choose the arm length that is most comfortable for you. The Diamond Design on the back of the hands of these wrist warmers/fingerless mittens is made up of knits and purls.
Line-by-line written instructions are supplied for the Diamond Design’s 14 stitches. The thumb hole is formed as you knit the palm – no need to pick up stitches afterward — it’s incredibly simple! Of course, skipping the Diamond Design and just using a multi-colored fun yarn will make things much simpler.

Step 1: Prepare your materials
worsted weight yarn, 200 yards (50g each)
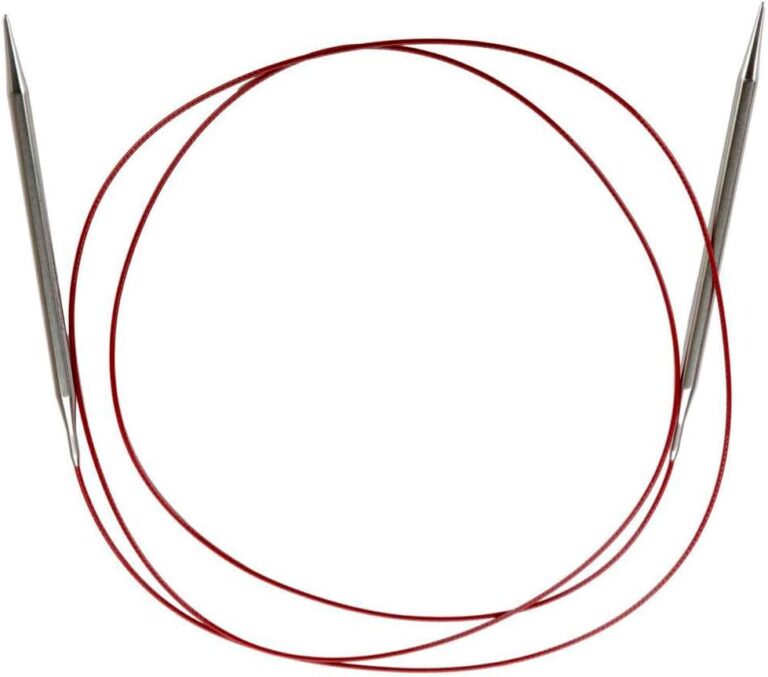
US size 6 (4.25mm) double point needles for Women’s Medium Size
US size 7 (4.5mm) for Women’s Large or Men’s Medium.
Needle for tapestry
Stitch Marker
Gauge
5.5 sts = 1” for Women’s Medium Size
5 sts = 1” Women’s Large Size or Men’s Medium

Step 2: Cuff
Using the long-tail (sling-shot, double) technique, cast on 40 stitches. Purl Rounds 1–3; Knit Rounds 4–6; Purl Rounds 7–9; Knit Rounds 10–12; Purl Rounds 13–15
Knit in basic stockinette stitch (knit every round) for the rest of the project:
1″ for mittens with short cuffs
5″ for mitts with long cuffs
Step 3: Right Mitt
Now you’ll start working the knit & purl Diamond pattern on the back of the hand while also working the thumb opening. Of course, you may leave out the Diamond pattern entirely to make these mittens even simpler to knit!
Back of Hand diamond design instructions:
Line 1: k6, p2, k6
Line 2: k6, p2, k6
Line 3: k4, p2, k2, p2, k4
Line 4: k4, p2, k2, p2, k4
Line 5: k2, p2, k2, p2, k2, p2, k2
Line 6: k2, p2, k2, p2, k2, p2, k2
Line 7: p2, k2, p2, k2, p2, k2, p2
Line 8: p2, k2, p2, k2, p2, k2, p2
Line 9: k2, p2, k2, p2, k2, p2, k2
Line 10: k2, p2, k2, p2, k2, p2, k2
Line 11: k4, p2, k2, p2, k4
Line 12: k4, p2, k2, p2, k4
Line 13: k6, p2, k6
Line 14: k6, p2, k6
Right Mitt Shape Thumb Gusset
Round 1: k1, m1, k1, m1, knit to the end of the round
Round 2: knit
Round 3: k1, m1, k3, m1, knit to the end of the round
Round 4: knit 27, place marker, work 14 sts from line 1 Diamond Design instructions, k3
Round 5: k1, m1, k5, m1, knit to marker, work 14 sts from line 2 of Diamond inst, k3
Round 6: knit to marker, work 14 sts from line 3 of Diamond inst, k3
Round 7: k1, m1, k7, m1, knit to marker, work 14 sts from line 4 of Diamond inst, k3
Round 8: knit to marker, work 14 sts from line 5 of Diamond inst, k3
Round 9: k1, m1, k9, m1, knit to marker, work 14 sts from line 6 of Diamond inst, k3
Round 10: knit to marker, work 14 sts from line 7 of Diamond inst, k3 (you should have 50
stitches now)
Right Mitt Thumb Hole
12 stitches should be bound off. The 1 stitch on the right needle should be transferred to the left needle. Cast on 9 stitches. Knit these 9 new stitches and continue knitting to the marker, then work 14 sts from Diamond inst line 8 and k3
To continue knitting in the round, join the group. At this point, you should have 47 stitches.
Round 1: knit to marker, 14 sts from Diamond inst line 9, k3
Round 2: knit to marker, 14 sts from Diamond inst line 10, k3
Round 3: knit to marker, 14 sts from Diamond inst line 11, k3
Round 4: knit to marker, 14 sts from Diamond inst line 12, k3
Right Mitt Thumb Decreases
Knit to marker, work 14 sts from line 14 of Diamond inst, k3 Round 2: knit to marker, work 14 sts from line 14 of Diamond inst, k3 Round 3: k1, ssk, k1, k2tog, knit to end of round (you should have 43 stitches now)

Step 4: Hand Top and Finishing
Continue to knit in simple stockinette stitch until the mitt is the following size:
For a short-cuff mitt, measure 6 12″ from the cast-on edge.
For a long-cuff mitt, start 10-12″ from the cast-on edge.
Edging on the Top
3 rounds of purl Purl at the end of the row. Securely weave in the end.
Step 5: Left Mitt
Left Mitt Shape Thumb Gusset
Round 1: k18, m1, k1, m1, knit to the end of the round
Round 2: knit
Round 3: k18, m1, k3, m1, knit to end of the round
Round 4: knit 27, place marker, work 14 sts from line 1 of Diamond instructions, k3
Round 5: k18, m1, k5, m1, knit to marker, work 14 sts from line 2 of Diamond inst, k3
Round 6: knit to marker, work 14 sts from line 3 of Diamond inst, k3
Round 7: k18, m1, k7, m1, knit to marker, work 14 sts from line 4 of Diamond inst, k3
Round 8: knit to marker, work 14 sts from line 5 of Diamond inst, k3
Round 9: k18, m1, k9, m1, knit to marker, work 14 sts from line 6 of Diamond inst, k3
Round 10: knit to marker, work 14 sts from line 7 of Diamond inst, k3 (you should have 50
stitches now)

Left Mitt Thumb Hole
Knit 18 stitches, then bind off the next 12 stitches. The 1 stitch on the right needle should be transferred to the left needle.
9 stitches are cast on
Knit these 9 new stitches and continue knitting to the marker, then work 14 sts from Diamond inst line 8 and k3
Round 1: Knit to bind off stitches in the first round. To continue knitting in the round to the marker, join to the new cast on stitches, work 14 sts from line 9 of Diamond inst, k3
Round 2: knit to marker, 14 sts from Diamond inst line 10, k3
Round 3: Knit to marker, work 14 sts from line 11 of Diamond inst, k3
Round 4: knit to marker, work 14 sts from line 12 of Diamond inst, k3
Left Mitt Thumb Decreases
Round 1: k19, ssk, k2, k2tog, knit to marker, work 14 sts from line 13 of Diamond inst, k3 Round 2: knit to marker, work 14 sts from line 14 of Diamond inst, k3 Round 3: knit to marker, work 14 sts from line 14 of Diamond inst, k3
Round 3: k18, ssk, k1, k2tog, knit to the end of the round, and remove the marker (you should now have 43 stitches).
Work the top of the hand and the edging in the same way as the Right Mitt.
And that’s it! You now have a beautiful pair of wrist warmers you can be proud to call your own!
