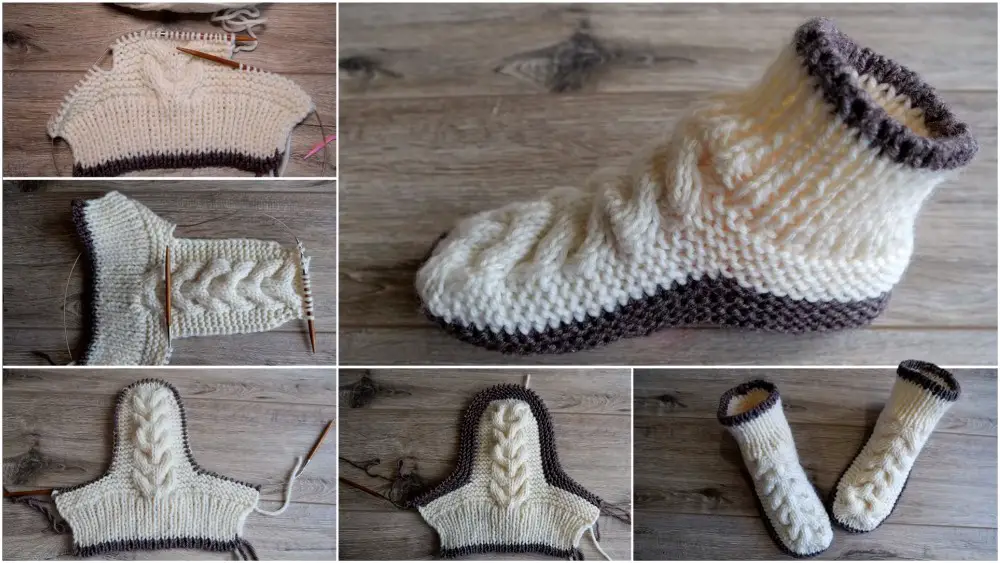
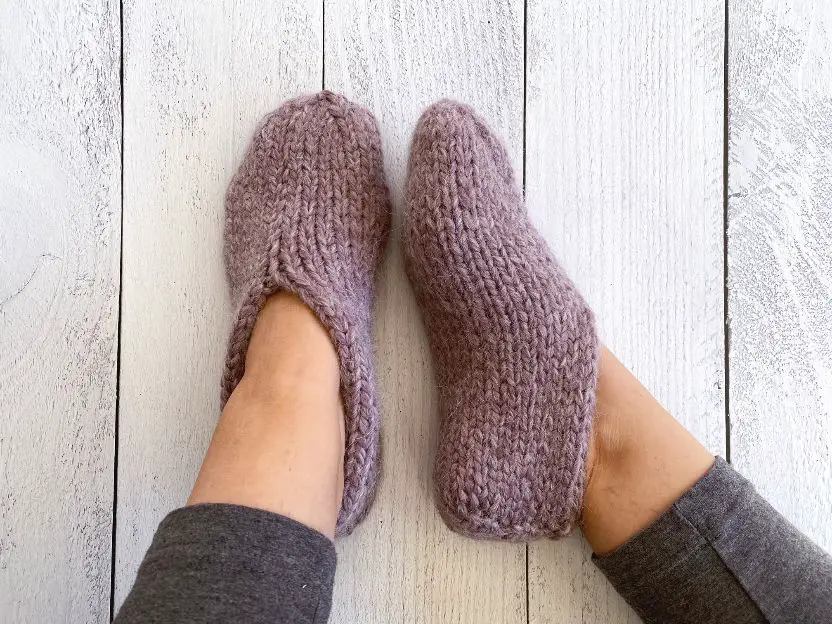
Making your own slippers is a quick and enjoyable knitting activity that is also functional. It just takes a few hours to knit a pair of slippers, and when you’re done, you’ll have the equivalent of a pair of warm little sweaters for your feet. If your feet are chilly, the rest of you will be cold as well, so let’s fix that with some homemade slippers! The simple slipper designs mentioned here are a pleasant knitting project for all levels of knitters, including novices. The best part is that you won’t need to purchase slippers since you can make these in no time.
These warm slipper designs have been around for decades, and the best part is that they are quick, easy, and flat to knit. Even if you’re a novice knitter, I’m certain you’ll be able to complete these warm slippers. As you look for the right pair of knitted slippers to create, I’m sure you’ll discover design variances.
For knitting slippers, there are a variety of yarns to choose from. Everyone used worsted weight yarn and held two strands together as one many years ago. This method has the advantage of allowing you to purchase two different color yarns for a colorful pair of knitted slippers. Just keep in mind that you’ll be combining two strands into one.
Keep in mind that whichever yarn you choose for knitting slippers, the needle size you use should be at least two to three sizes smaller than the yarn label suggests. Why? Because if you use thick yarn and large needles, the stitches will be extremely loose, causing holes in your slippers to appear quicker.
The stitches will be tighter and your slippers will last longer if you knit them on a smaller needle. Let’s knit some slippers, shall we?
Slipper Knitting Pattern No. 1

Cast on, bind off, knit, purl, knit 2 together (k2tog), and seaming are required skills.
Abbreviations: K, k = knit, P, p = purl, K2tog = knit two stitches together
Small is for children, medium is for ladies, large is for adults, and extra large is for those with broader feet. The pattern is written in tiny letters, with the additional sizes in brackets.
Materials
Yarn: Around 200-300 yards of yarn are required. You’ll need to hold two strands together as one for worsted weight yarn. You’ll just knit with one strand for very thick yarn, and the thickness should be 6-Super Bulky.
Size 9 (5.5mm) needles for worsted weight yarn
Instructions
With your chosen cast on, cast on 27 (29, 35, 41) sts. Go with the long tail.
Knit the first row, R1.
Row 2: k9 (9, 11, 13), purl 1, k7 (9, 11, 13), p1, k9, k9, k9, k9, k9, k9, k9, k9, k9 (9, 11, 13)
Rows 1 and 2 should be repeated until you have 13 (15, 17, 19, 20) garter ridges on the right side of your work, or until you reach your desired length. Work the slipper according to your size whether you need more or fewer rows. It’s really simple to change.
Remember that you’ll be knitting the length of your slipper, so it should be around 2 (2.5, 2.5, 2.5) inches shorter than your actual foot size.
This will leave you with 2 to 2.5 inches to knit the toe of your slipper.
Finish with a second row.
Shape Toe
Row 1: P1, *K1, P1, repeat from * across row
Row 2: K1, *P1, K1, repeat from * across row
Repeat rows 2 and 3 for a total of 1.5 (2, 2, 2) inches, finishing on the second row.
Decrease Row
K2tog across. Knit the additional stitch if you have one remaining. It’ll all work out in the end. 14 stitches are left to sew (15, 18, 21)
Knit the next row.
2nd Decrease Row
K2tog across row 2. Knit if you have an extra stitch. There should be 7 (8, 9, 11) stitches left. Break the yarn, leaving around 12 inches.
After that, your slipper will have three sections: the bottom of your slipper, the center, and the two sides. With the small indents running down the sides, this is the incorrect side.
Finishing
Thread a tapestry needle with the yarn tail and gently push it through the remaining stitches on the needle. Put the tapestry needle in my right hand and slide each stitch off the knitting needle and onto the tapestry needle and yarn tail as if purling.
Pull as firmly as you can after you’ve completed all of the stitches, being careful not to break the yarn.
To strengthen the toe and shut it more securely, run the needle through the threads a second time. You don’t have to, but it’s all up to you.
Continue using the whip stitch to seam up the toe part after the toe is securely attached. You’ll want to sew up the toe piece enough to prevent the slipper from slipping off, but how far you go is entirely up to you. A half-inch to one-inch beyond the ribbing is usually sufficient.
Then sew the bottom of the slipper together from the heel to the toe. Weave in the ends and embellish with buttons or pom poms, or leave them simple.
Slipper Knitting Pattern No. 2

These basic knitted slippers with short rows for easy shaping will keep your toes warm. If desired, work the short rows in a second color to create stripes, and pom-poms may be added as a final touch.
Because these slippers wrap over your feet, gauge isn’t as important, but a gauge of 3.5 sts to 4 sts per inch will give you the best results.
Materials
Knitting Needles, US Size 7
“4” weight yarn, 2 ozs (worsted weight)
Blunt needle with a large eye
Instructions
Cast on 32 stitches.
Begin with the following pattern:
Knit the first four rows.
Row 5: Knit 20, turn.
Row 6: Purl 19 and slip 1 purlwise.
Rows 1 through 6 should be repeated seven times more. (This will give you 8 short row stripes in total.)
Then repeat rows 1–4 one more time.
Bind off the yarn, leaving a long tail when cutting it.
Now you should have a flat piece that is approximately 5″ tall at the toe end, 7″ tall at the heel end, and 8.5″ wide.
Sew the slipper together as follows:
Thread the long tail of yarn through the big blunt needle, then pull to collect the yarn through the end of the rows at the toe edge. To make the instep, stitch the cast on the edge and the bound-off edge together for 4.5″. Finish by tying off the yarn, cutting it, and weaving it in.
Fold the slipper in half and stitch the rear sides together with a separate piece of yarn to make the heel.
As an optional design, make a pom pom approximately 112″ in diameter using a pom pom maker and stitch it on the top of the shoe. Work rows 5 and 6 of the pattern in a contrasting color to produce striped slippers.
To create men’s slippers, cast on 38 stitches and work 25 stitches for the short rows using a size 8 needle. Repeat the pattern rows one more time (so that you have nine short row stripes). For men’s slippers, you may want to stitch the instep for 5′′.
Good luck with your knitting!