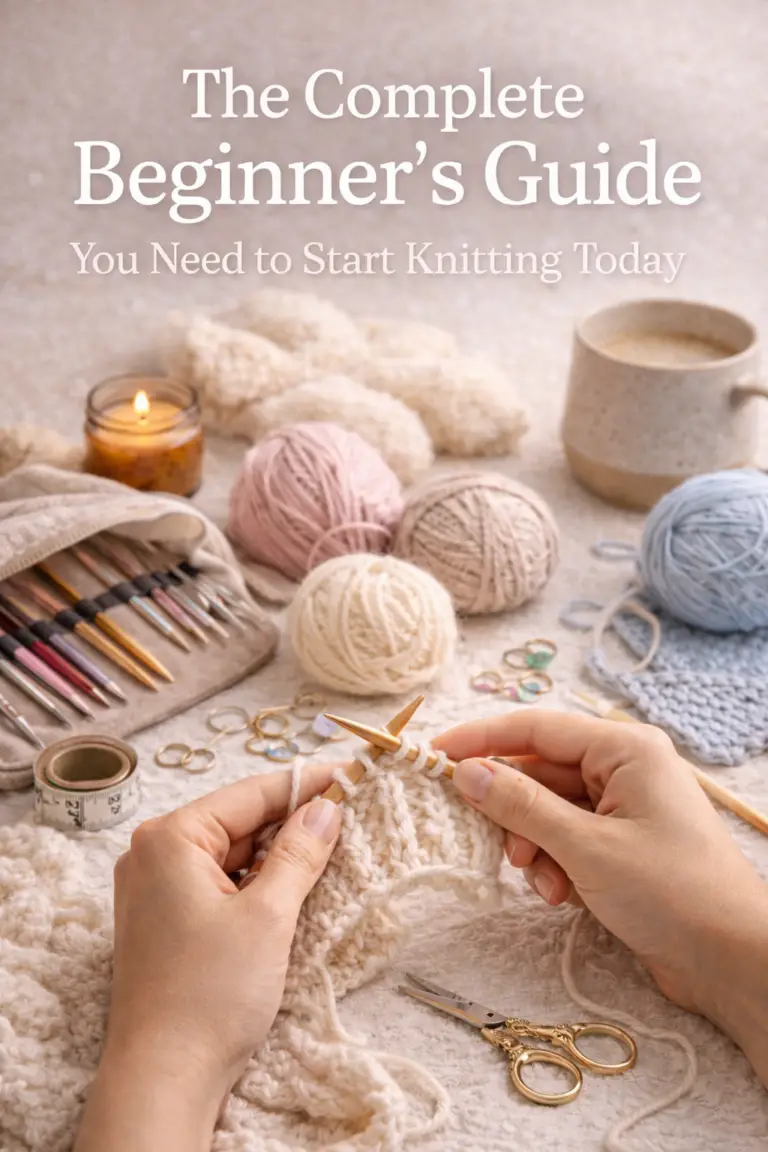
How to Knit (k)
The knit stitch is the foundation of knitting. If you can master this one simple stitch, you can knit scarves, blankets, dishcloths, sweaters—and just about everything else.
If you’re brand new to knitting, don’t worry. This guide walks you through the knit stitch slowly, clearly, and without confusing jargon, so you can feel confident from your very first stitch.
What Is the Knit Stitch?
The knit stitch (abbreviated “k” in patterns) is the most basic stitch in knitting. When worked across every row, it creates garter stitch, a stretchy, textured fabric that lies flat—perfect for beginners.
You’ll see the knit stitch used in:
- Scarves and cowls
- Dishcloths and washcloths
- Baby blankets
- Sweaters and hats
Once you learn this stitch, you’re officially knitting 🎉
What You’ll Need
Before you start, gather these beginner-friendly supplies:
- Yarn: Medium-weight yarn (Category 4 / Worsted)
- Needles: Size US 8 (5 mm) straight or circular needles
- Scissors
- A little patience (seriously—you’re learning a new skill!)
💡 Tip: Light-colored yarn makes it much easier to see your stitches when you’re learning.
Step 1: Cast On Stitches
Before you can knit, you need stitches on your needle. This is called casting on.
For practice, cast on 20 stitches using any beginner method you like (long-tail cast on is very common).
Once cast on:
- Your needle with stitches should be in your left hand
- The empty needle should be in your right hand
- The yarn attached to the ball (the “working yarn”) should be hanging behind your work
Step 2: How to Hold Your Needles
Hold the needle with stitches in your left hand, and the empty needle in your right hand.
The tips of the needles should point toward each other, forming a small “X.”
Don’t grip too tightly—knitting works best when your hands are relaxed.
Step 3: Insert the Right Needle
- Insert the right needle into the first stitch on the left needle
- Go from front to back
- The needles should cross, forming an “X”
You are now set up to make a knit stitch.
Step 4: Wrap the Yarn
- Take the working yarn and wrap it counterclockwise around the right needle
- The yarn should move from back to front and around
This wrapping motion creates the new stitch.
Step 5: Pull the New Loop Through
- Use the right needle to gently pull the wrapped yarn through the stitch
- You’ll see a new loop form on the right needle
Take your time here—slow and steady is perfect.
Step 6: Slide the Old Stitch Off
- Slide the old stitch off the left needle
- The new stitch stays on the right needle
🎉 Congratulations—you just made your first knit stitch!
Step 7: Repeat Across the Row
Repeat steps 3–6 for each stitch on the left needle until:
- All stitches are on your right needle
- The left needle is empty
You’ve completed one knit row.
Step 8: Knit Every Row
To continue knitting:
- Switch hands so the full needle is back in your left hand
- Knit every stitch across again
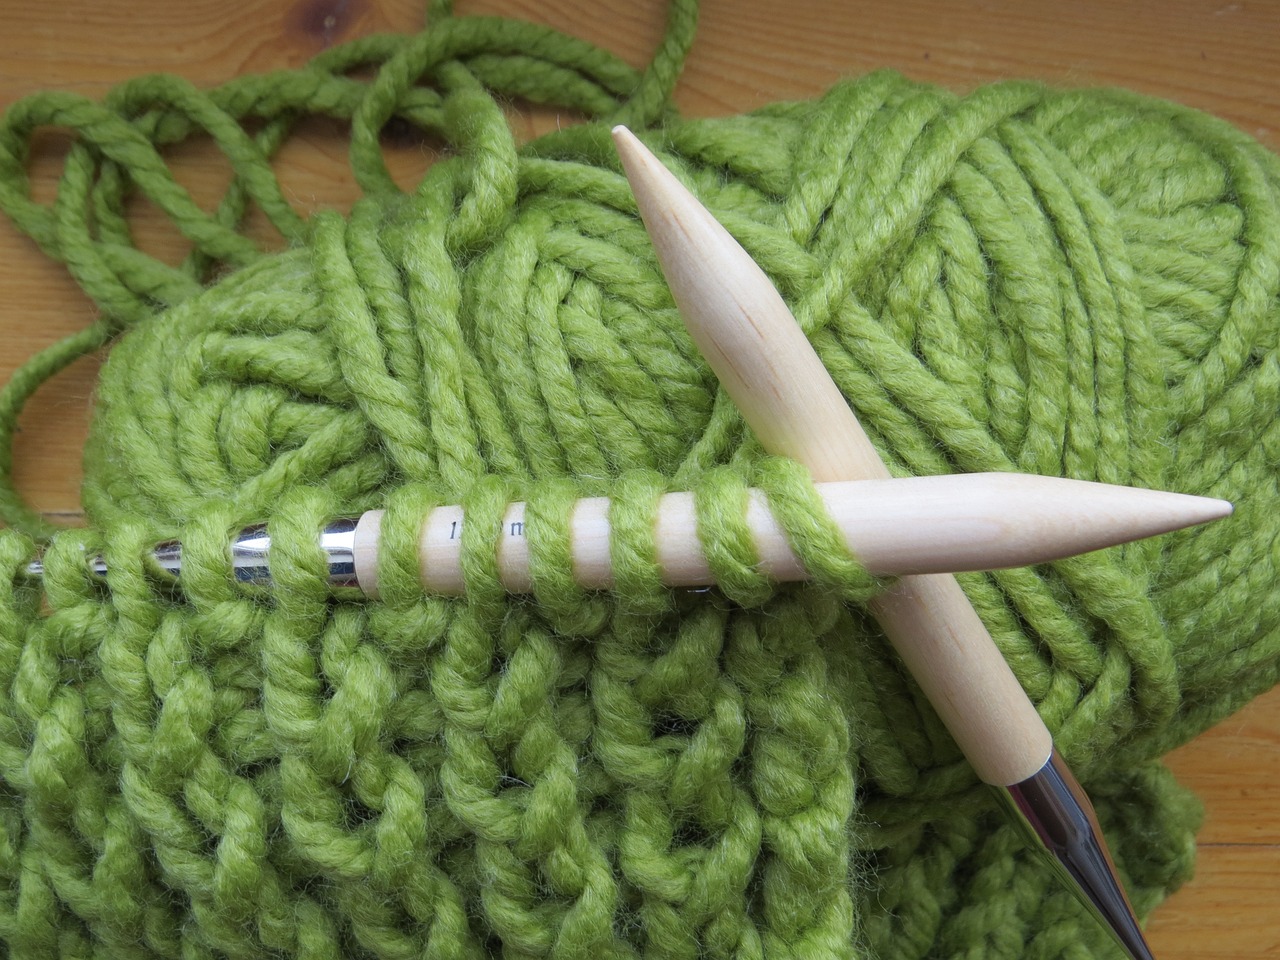
When you knit every row, you create garter stitch, the classic beginner fabric with squishy ridges.
What Should It Look Like?
Your fabric should:
- Have soft, bumpy ridges on both sides
- Lay flat without curling
- Feel stretchy and cozy
If it looks uneven or loose at first—that’s completely normal. Your tension improves quickly with practice.
Common Beginner Mistakes (And How to Fix Them)
My stitches are too tight
→ Try loosening your grip and letting the yarn slide more freely.
I accidentally added stitches
→ Make sure you’re not knitting into the space between stitches.
My yarn keeps splitting
→ Use smoother yarn and slow down your needle movements.
Practice Project Idea
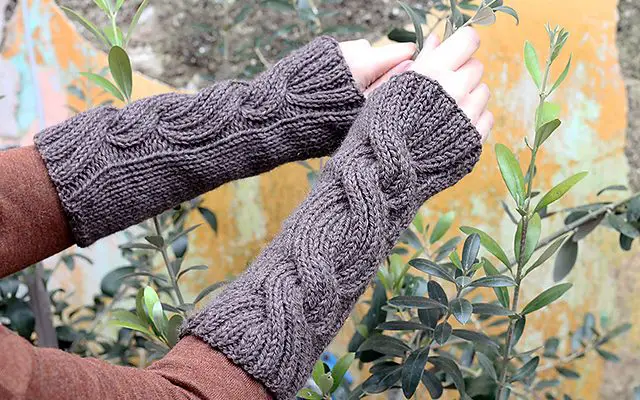
Once you’re comfortable with the knit stitch, try making:
- A garter stitch scarf
- A simple washcloth
- A baby blanket square
These projects use only the knit stitch and help build confidence fast.
What’s Next?
After mastering the knit stitch, the next skill to learn is the purl stitch. Together, knit and purl stitches unlock endless patterns and textures.
👉 Coming up next: How to Purl Stitch for Beginners
Final Encouragement
Every experienced knitter started exactly where you are now—with one stitch and a lot of curiosity. Take your time, practice often, and enjoy the rhythm of knitting.
You’re officially a knitter now!