How to Thread a Sewing Machine: A Beginner’s Guide
Sewing can be a fun and rewarding hobby, but if you’re not very experienced, the process can seem overwhelming. For example, I know how to sew, but don’t sew often. So, every time I get my sewing machine out and need to thread it, I draw a blank, which completely prevents me from getting started.
One of the most important steps in sewing is threading your machine correctly. Threading your sewing machine is essential to create perfect stitches and prevent any machine-related errors. In this beginner’s guide, we’ll walk you through the process of threading your sewing machine step-by-step.
Table of Contents
- Introduction
- What You’ll Need
- Understanding Your Sewing Machine
- Step-by-Step Guide to Threading Your Sewing Machine
- Tips and Tricks
- Common Problems and Solutions
- Conclusion
- FAQs
Introduction
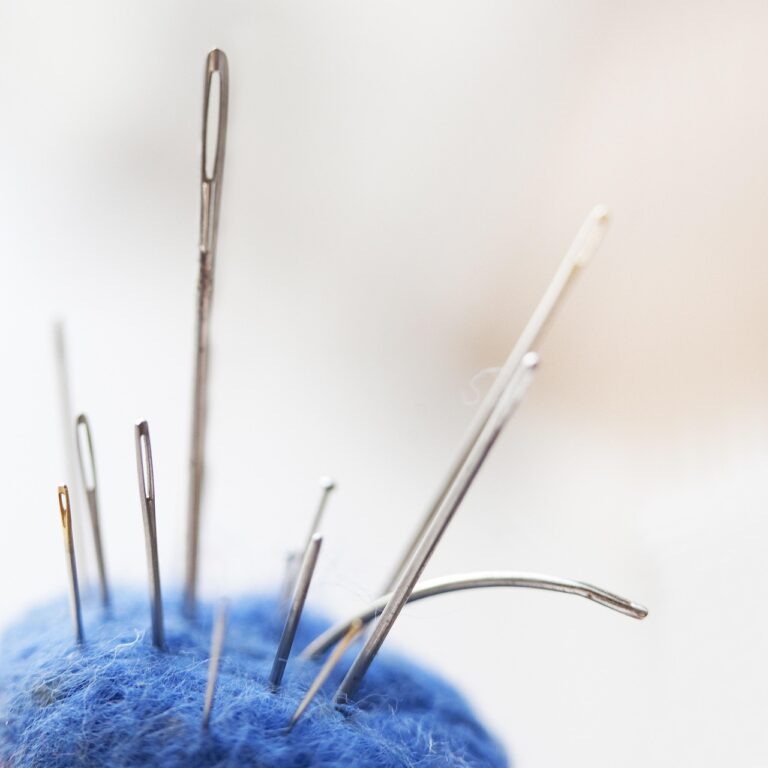
Before we dive into the steps, let’s take a moment to understand why threading your sewing machine is so important. The most obvious reason is that you can’t start your project! But, threading your machine correctly ensures that the thread flows smoothly through the machine, creating even stitches. If your machine is not threaded correctly, you may experience problems such as skipped stitches, tension issues, and even thread breakage. Also, using the correct sewing needle is key to a successful sewing project!
What You’ll Need to Thread Your Sewing Machine
Before we start, gather the following materials:
- Sewing machine
- Thread
- Bobbin
- Scissors
- Seam ripper (optional)
Understanding Your Sewing Machine
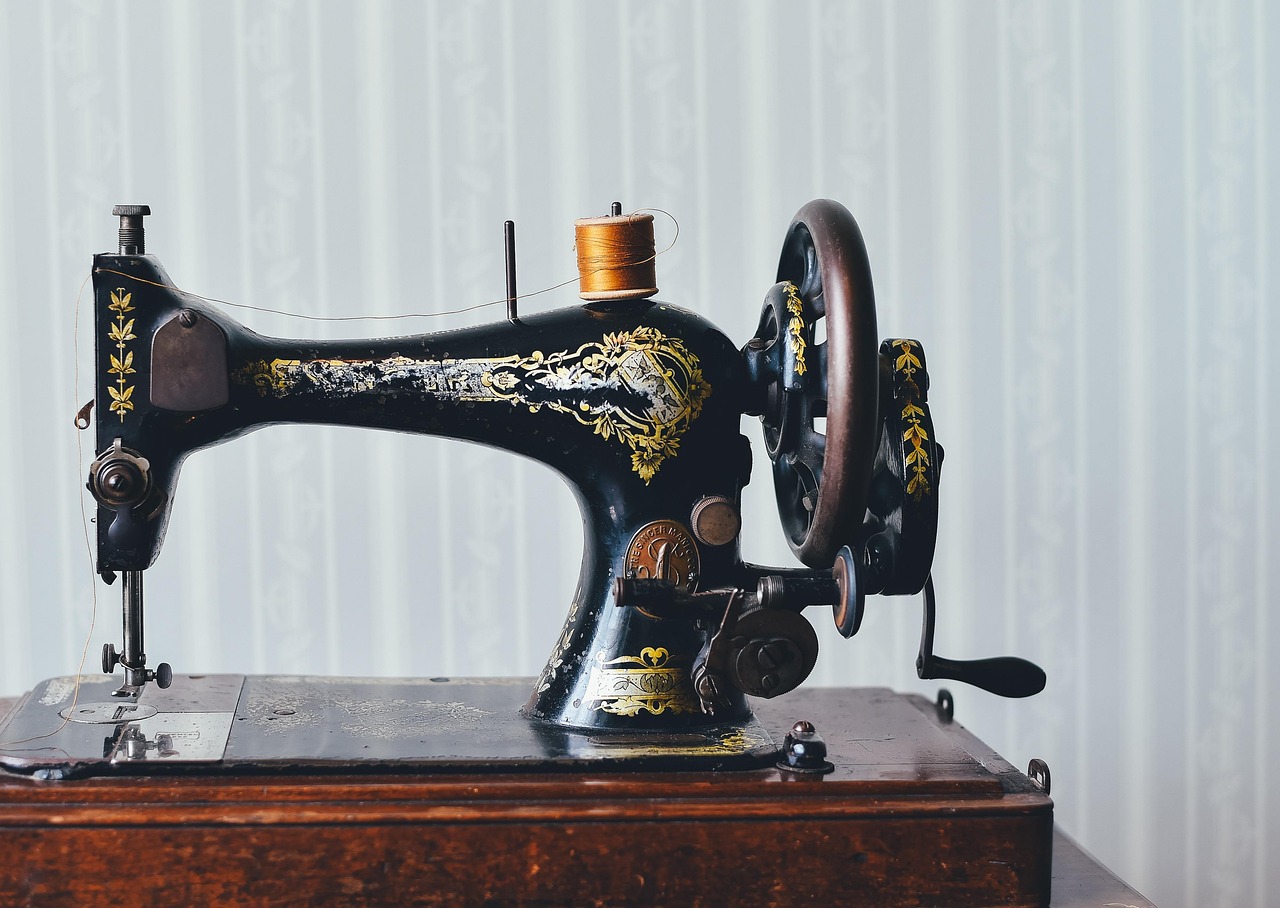
Before you begin threading your machine, it’s essential to understand the parts of your sewing machine. Every sewing machine has similar parts such as the spool pin, thread guide, tension discs, and presser foot. Refer to your machine’s manual to understand the specific parts of your machine.
Step-by-Step Guide to Threading Your Sewing Machine
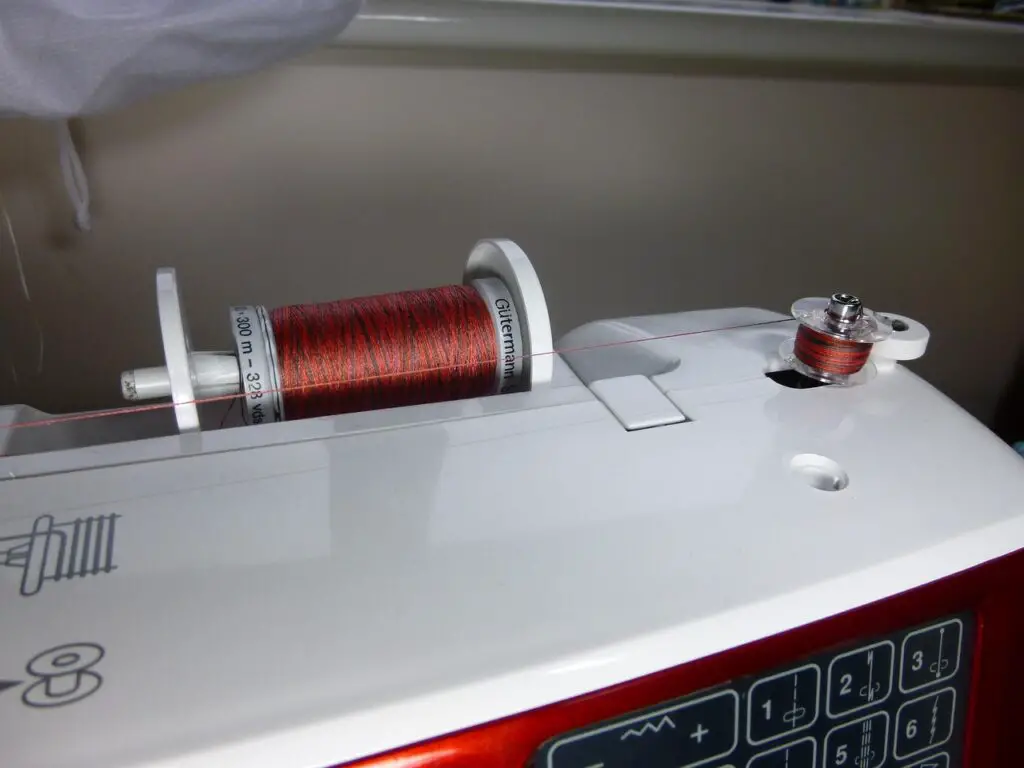
Step 1: Wind the Bobbin
The first step in threading your sewing machine is to wind the bobbin. The bobbin is a small spool of thread that fits inside your sewing machine. To wind the bobbin, follow these steps:
- Place your thread on the spool pin.
- Take the end of the thread and wrap it around the bobbin winder tension disc.
- Push the bobbin winder spindle to the right and hold it in place.
- Press on the foot pedal to start winding the bobbin.
- Once the bobbin is full, cut the thread and remove the bobbin from the spindle.
Step 2: Insert the Bobbin
The next step is to insert the bobbin into your sewing machine. Follow these steps:
- Remove the bobbin cover from your machine.
- Place the bobbin into the bobbin case with the thread coming out in a clockwise direction.
- Pull the thread through the slit and place the bobbin case back into your machine.
Step 3: Thread the Upper Thread
Now it’s time to thread the upper thread. Follow these steps:
- Place your thread on the spool pin.
- Take the thread and pass it through the thread guide.
- Pull the thread through the tension discs.
- Thread the take-up lever.
- Pass the thread through the thread guide above the needle.
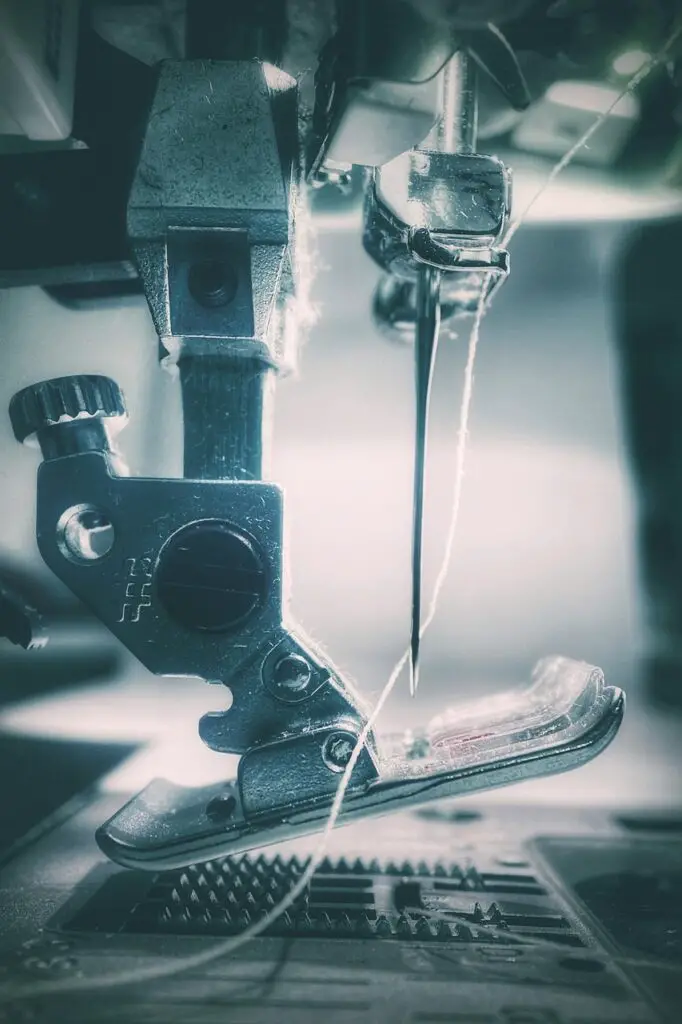
Step 4: Pull the Thread Through the Needle
The next step is to pull the thread through the needle. Follow these steps:
- Thread the needle from front to back by inserting the thread through the eye of the needle, making sure it goes from the front (the side facing you) toward the back.
- Pull a few inches of thread through the needle. This helps prevent the thread from slipping out once you start sewing.
- Hold onto the end of the thread and turn the handwheel toward you. Slowly turn the handwheel to lower the needle down into the needle plate and then back up again. This motion helps ensure the thread is seated correctly in the needle.
- Continue turning the handwheel until the needle is fully raised. Leave the thread tail hanging loosely behind the needle.
Step 5: Adjust the Tension
The final step is to adjust the tension. The tension controls how tight or loose your stitches are. Adjusting the tension is essential to ensure that your stitches are even. Follow these steps:
- Place a piece of scrap fabric under the presser foot.
- Sew a few stitches on the fabric.
- Examine the stitches. If they’re too loose, increase the tension. If they’re too tight, decrease the tension.
- Continue adjusting the tension until you’re happy with the stitch quality.
Tips and Tricks for Threading a Sewing Machine
- Always use the correct size and type of needle for your project.
- Change your needle regularly to prevent skipped stitches.
- Use high-quality thread to prevent thread breakage.
- Make sure your machine is clean and oiled regularly.
Common Problems and Solutions
Here are some common problems you may encounter when threading your sewing machine and their solutions:
- Skipped stitches: Change your needle or adjust the tension.
- Thread breakage: Check that your thread is the correct weight for your project and that your machine is threaded correctly.
- Uneven stitches: Adjust the tension or change your needle.
Conclusion
Threading your sewing machine is a crucial step in sewing. By following these steps and tips, you can thread your machine with confidence and prevent any machine-related errors. Remember to refer to your machine’s manual for specific instructions and always take your time when threading your machine.
FAQs
- How often should I change my needle? It’s recommended to change your needle after every 8-10 hours of sewing.
- How do I know if my machine is threaded correctly? Sew a few stitches on scrap fabric to check the stitch quality. If the stitches are even and smooth, your machine is threaded correctly.
- Why is my thread breaking? Your thread may be the wrong weight for your project, or your machine may be threaded incorrectly.
- Can I use any type of thread in my machine? It’s best to use high-quality thread that’s suitable for your project and machine.
- Do I need to oil my sewing machine? Yes, it’s essential to oil your machine regularly to prevent rust and ensure smooth operation.