In the world of knitting you could say the Stockinette Stitch is the meat to the potatoes of the Garter Stitch.
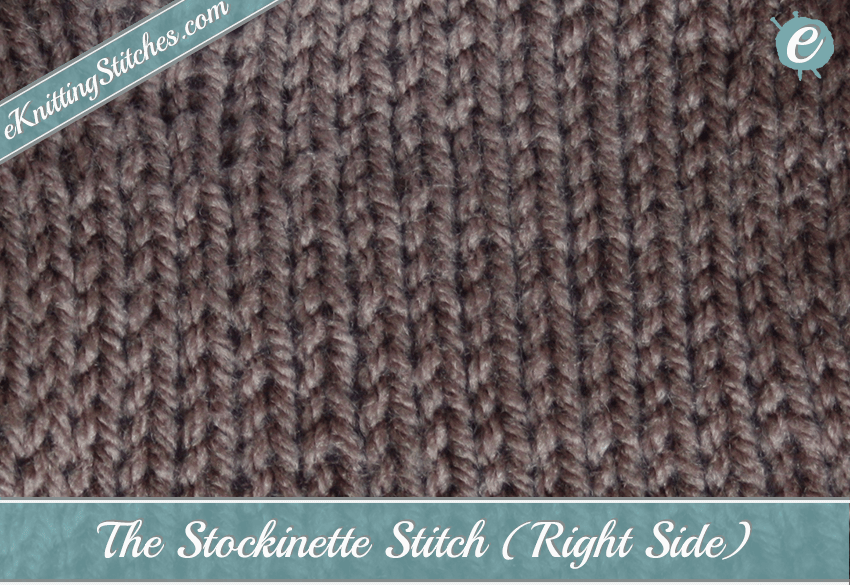
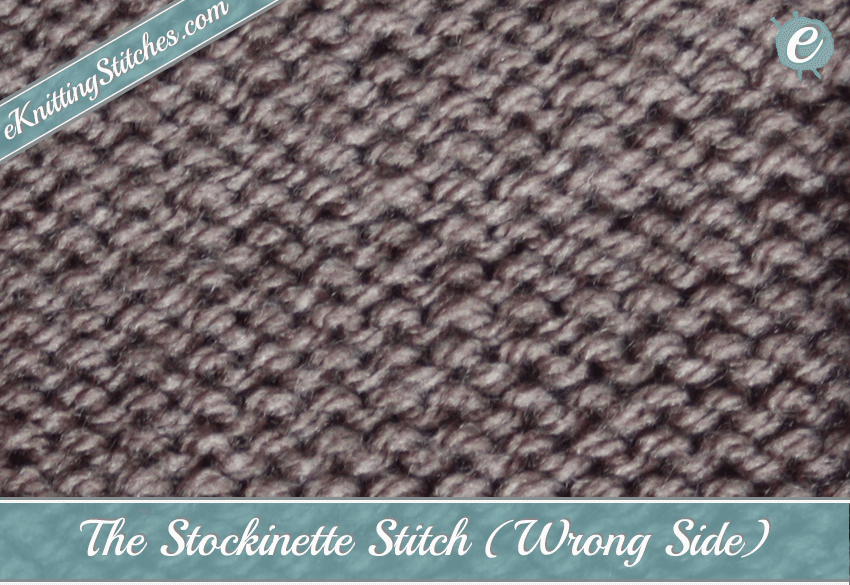
The stockinette stitch (also known in the UK/Australia/New Zealand as the Stocking Stitch) gives a smooth stacked “V” appearance (right side) and resembles the raised ridges of the garter stitch on the reverse (wrong side). It creates a result of what is often pictured when you think of a knitted fabric. Such items or good project examples include sweaters, hats, scarves and such.
So, what is a stockinette stitch? The stockinette stitch requires mastery of the two basic stitches – to knit and to purl. These two basic stitches are combined by alternating rows – knit every stitch for an entire row, reverse the fabric and purl the next row.
Benefits of Stockinette Stitch
Stockinette stitch is very to use and once you can get the hang of it, you can do while you watch TV, travel, etc. It is good for projects or gifts that you need to reproduce easily. If you use it in a pattern, you can easily alter it by increasing or decreasing stitches and it is a fantastic stitch to use for a project with just adding embellishments to make something special.
Instructions
Cast on the required number of stitches for your project, begin knitting every stitch along the row until you have transferred the full row of stitches to your dominant hand then reverse and purl every stitch on the second row (Wrong Side). Continue till you have the desired size.
Difficulty level:

Traditional Instructions
Row 1: k all stitches to end of row
Row 2: p all stitches to end of row
Repeat rows 1 and 2 to desired length.
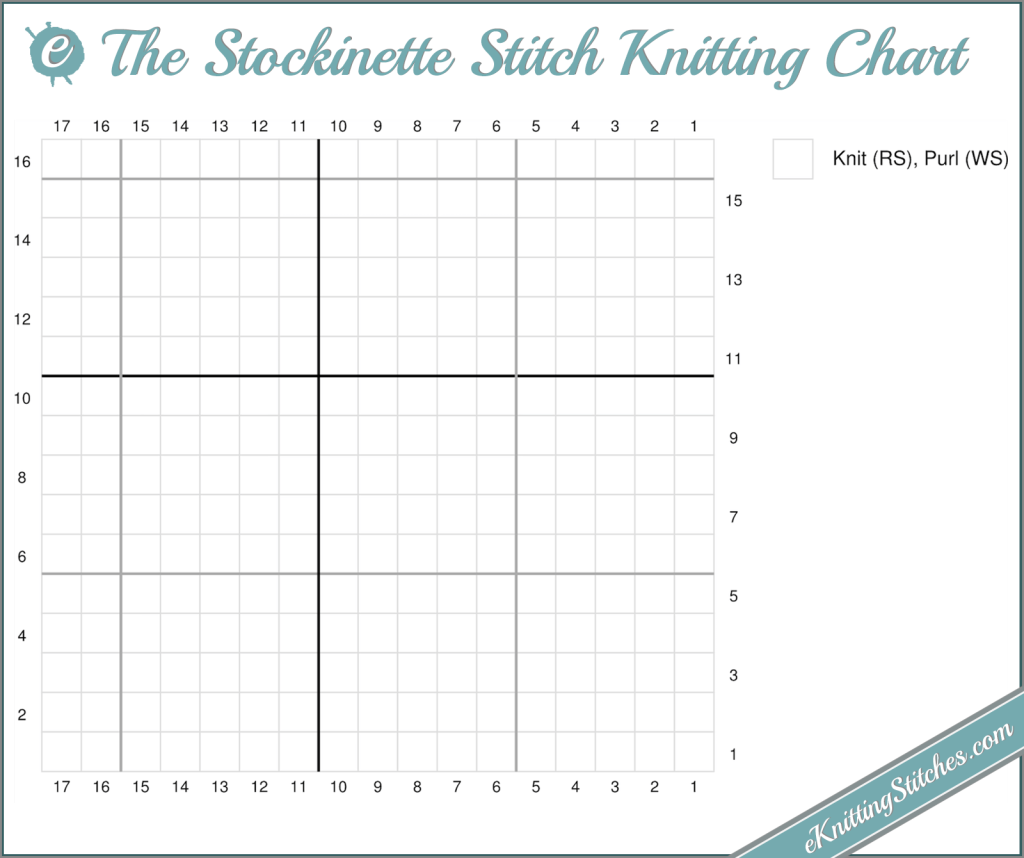
Stockinette Stitch Chart

Stockinette Stitch Swatch Examples
Stockinette Example – Right Side

Stockinette Example – Wrong Side

