Garter Stitch
The garter stitch is often the very first stitch new knitters learn—and for good reason. It’s one of the easiest knitting stitches to master, making it incredibly popular for beginners and experienced crafters alike.
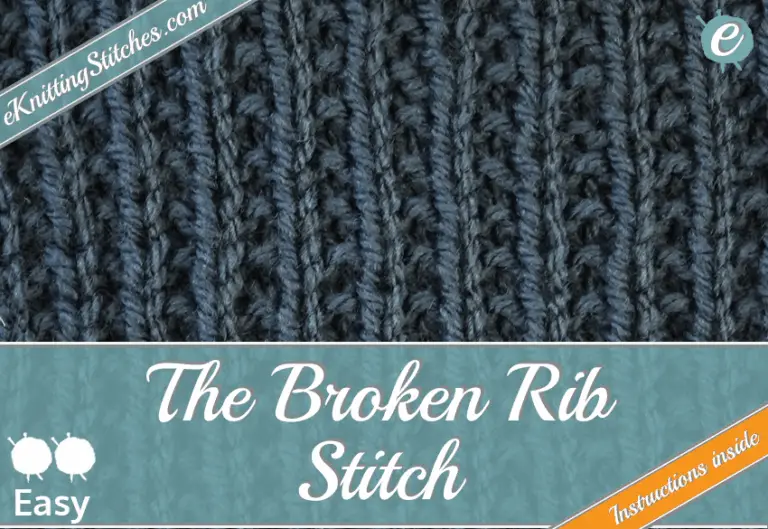
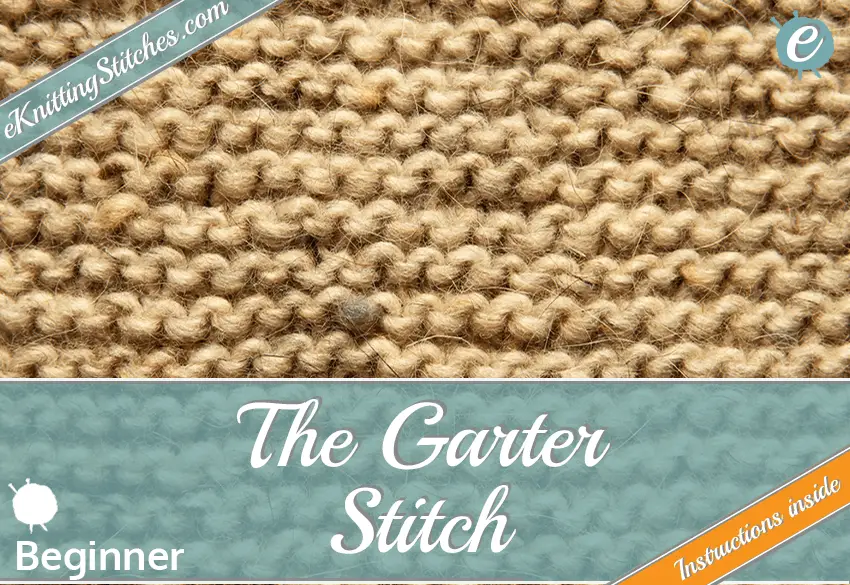
This classic stitch pattern creates a textured, bumpy fabric made up of horizontal ridges which adds visual and tactile interest. These ridges form as a result of knitting every row, which gives the garter stitch its distinctive look and feel.
Whether you’re knitting your first scarf or adding texture to a more advanced project, the garter stitch is a fundamental building block in the knitting world. Its simplicity, durability, and clean finish make it one of the most-used knitting techniques of all time.
Why Use the Garter Stitch?
This stitch produces a sturdy, flexible fabric that lies flat and doesn’t curl at the edges. It also looks the same on both sides! That makes it perfect for a wide range of knitting projects, including:
- Scarves
- Baby blankets
- Dishcloths
- Sweater edges or borders
- Beginner practice swatches
Because of its simplicity and versatility, the garter stitch is an essential technique in any knitter’s toolkit.
Difficulty level:

Cast On
Cast on the number of stitches required for your project.
Techniques Used in this Stitch:
k – knit
Instructions
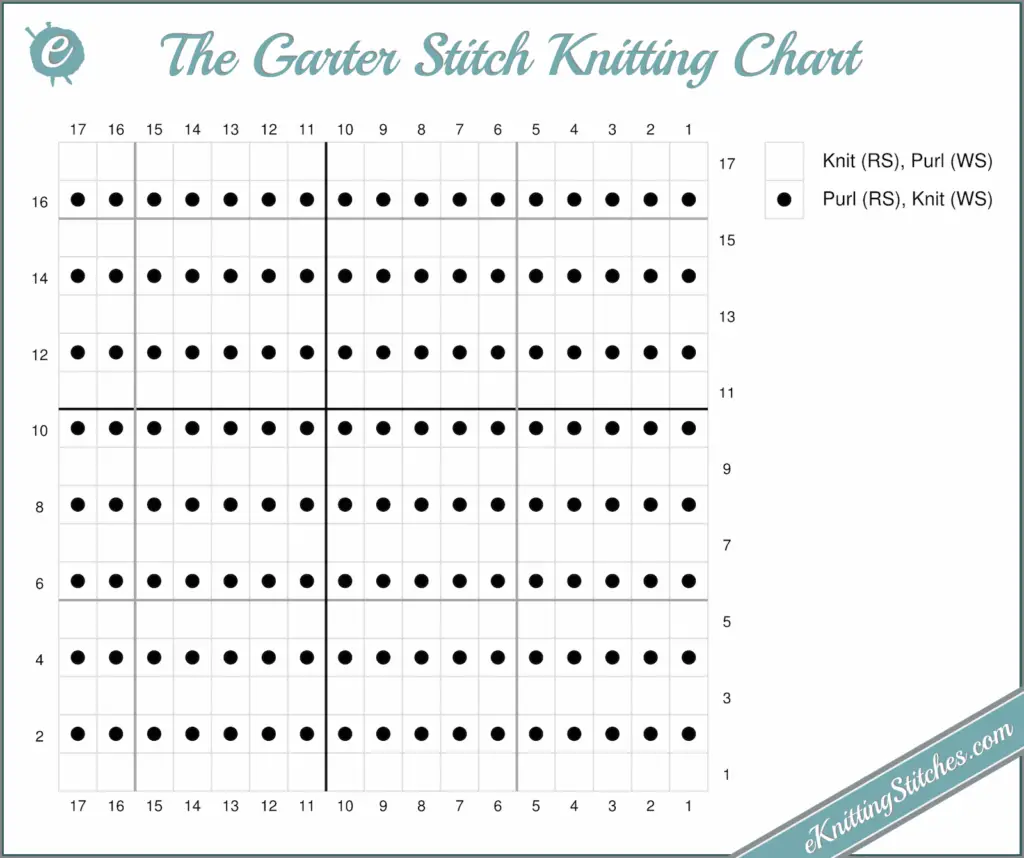
Garter stitch is created by knitting every row—no purling required! Follow these simple steps:
Start by casting on the number of stitches required for your project. Use your preferred cast-on method (the long-tail cast-on is great for beginners).
Knit each stitch across the row. Once you finish one row, turn your work.
Continue knitting every stitch on every row until your fabric reaches the desired length.
Tip: Be sure to count your rows or measure your work periodically to keep your project on track.
Stitch Chart
Example of Garter Stitch – Right Side