Mastering the Art of Cable Knitting: A Step-by-Step Guide
Any time I see some cable knitting, I get the cozy feeling of autumn! Chunky sweaters, hand-knit socks or a thick knit blanket inviting me to cuddle! Cable knitting is a captivating technique that can elevate your knitting projects from ordinary to extraordinary. Weaving the intricate twists and turns create stunning patterns that add depth and texture to your garments and accessories. Whether you’re a knitting novice or an experienced crafter, this comprehensive guide on how-to cable knit will provide you with the knowledge you need to create beautifully woven designs.
What is Cable Knitting?
This form of knitting involves crossing stitches over each other to create interwoven designs that resemble braids or ropes. These designs add a three-dimensional quality to your work, making it a favorite among knitters looking to add character and complexity to their projects.

Step-by-Step Guide to Cable Knitting
1. Choose Your Yarn and Needles
Begin by selecting a yarn that’s appropriate for your project. Thicker yarns will showcase cables better but remember that too bulky a yarn might obscure the intricate details. Correspondingly, choose specific cable knitting needles that match your yarn weight.
2. Cast On Stitches
Start with casting on the desired number of stitches for your project. Keep in mind that cable patterns typically require a multiple of stitches to ensure the symmetry of the design.
3. Create a Cable Needle
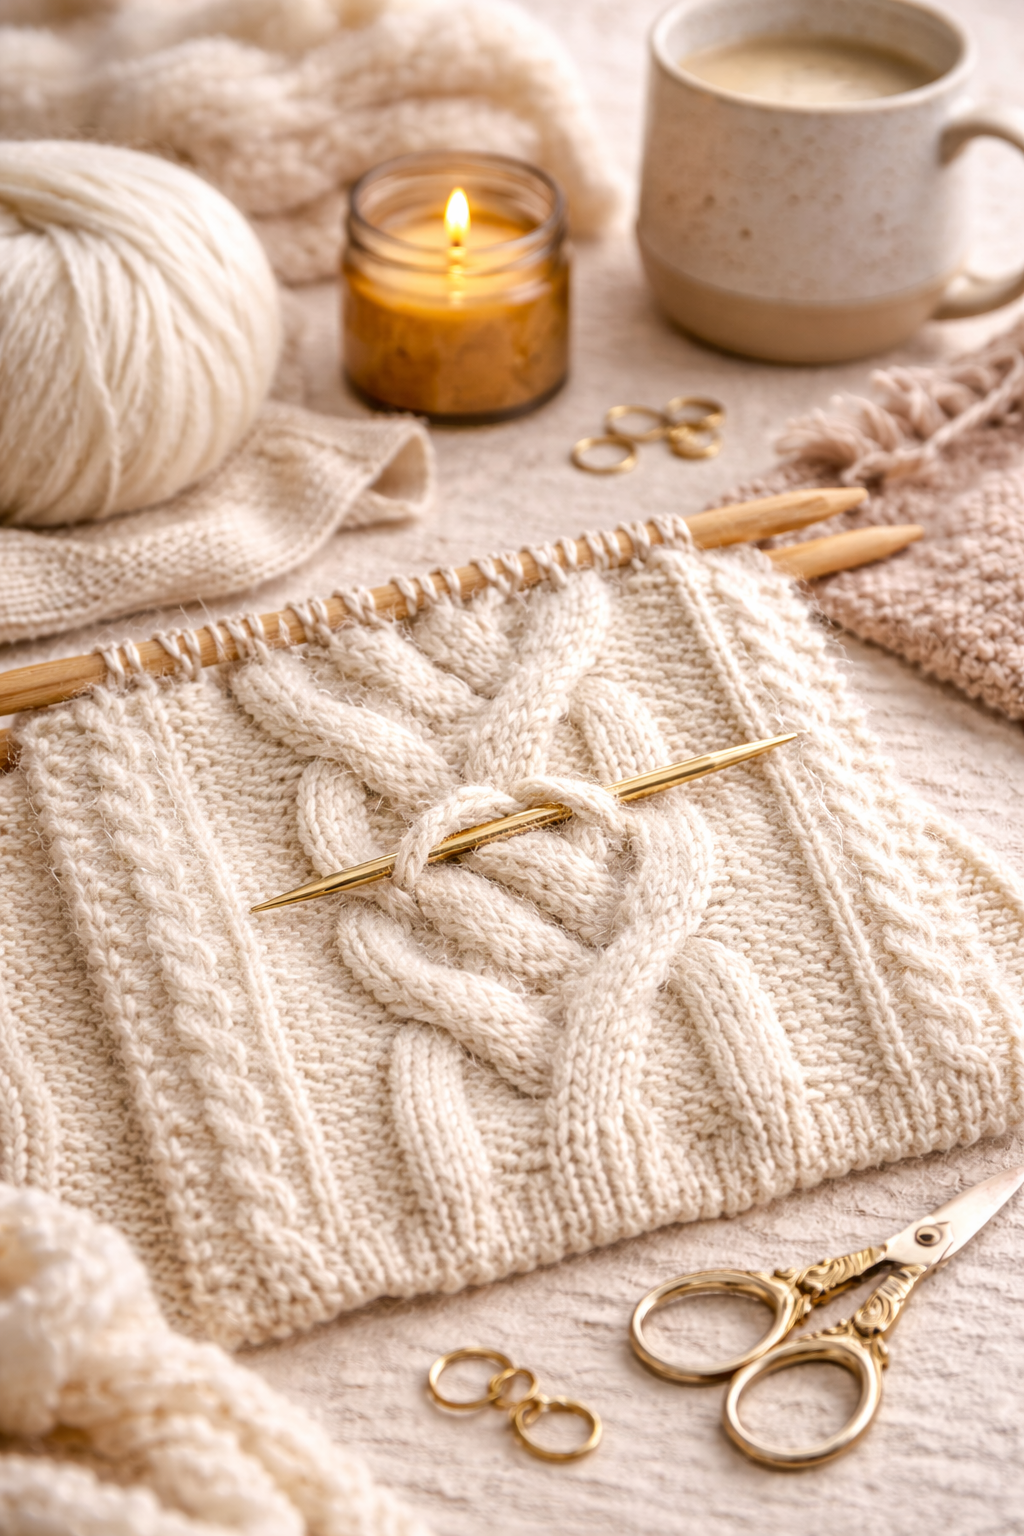
A cable needle is a short needle used to hold stitches temporarily while you work on other stitches. It prevents stitches from unraveling while you create the twists. You can also use a double-pointed needle or a spare knitting needle.
4. Work Your Foundation Rows
Knit a few rows in a basic stitch pattern before you start the cabling. This sets the groundwork for your cable pattern to stand out effectively.
5. Begin Cabling
Before you start crossing stitches, make sure you’ve reached the point in your knitting where the cable twist is indicated in your pattern. Here’s how to proceed:
- Slip Stitches: Slip the designated number of stitches onto the cable needle. For example, if your pattern calls for a C4F (Cable 4 Front), slip the first 2 stitches onto the cable needle.
- Hold the Cable Needle: Keep the cable needle in front of your work, aligned parallel to your knitting needles.
6. Cross Stitches
Execute the cable cross as follows:
- Knit Stitches from Main Needle: Insert your working needle into the front of the stitches on your main needle, treating them as regular knit stitches.
- Knit Cable Needle Stitches: Now, insert your working needle into the front of the stitches on the cable needle. If cable needle stitches were slipped purlwise, knit them through the back loop to prevent twisting.
- Complete the Cross: While maintaining tension, knit the main needle stitches first, then the cable needle stitches. This completes the cross, forming the cable twist.
7. Finishing the Cable
Ensure uniformity and tension while knitting subsequent stitches. Continue following your pattern’s instructions to maintain consistency.
8. Repeat and Follow the Pattern
Continue following the pattern, usually provided in knitting charts or written instructions. Pay attention to the number of rows between each cable twist to maintain symmetry.
9. Bind Off
Conclude your project with a neat bind off, securing your stitches and finalizing your intricate design.
Tips for Successful Cable Knitting
- Practice on a Swatch: Before diving into a large project, practice your chosen cable pattern on a swatch to get comfortable with the technique.
- Use Cable Needles Wisely: Experiment with different cable needle types to find what suits you best – straight, bent, or even no cable needle at all.
- Keep Tension Consistent: Consistent tension is crucial for uniform cable patterns. Pay attention to your tension when knitting and cabling to avoid loose or tight stitches.
- Block Your Work: Blocking your finished project will help open up the cable design and give it a professional finish.

Projects Ideal for Cabling
Cable knitting imparts a touch of luxury and complexity to various projects. Ideal options include:
- Scarves and Cowls: Cable patterns add warmth and elegance to accessories like scarves and cowls, making them wonderful introductory projects.
- Hats: Knit charming hats with cable motifs to create captivating headwear that stands out.
- Blankets and Throws: Enhance the cozy feel of blankets and throws by incorporating cable designs into larger surfaces.
Beginner-Friendly Projects
If you’re new to cable knitting, start with these manageable projects:
- Headbands: Craft stylish headbands with small cable twists that are perfect for practicing the technique.
- Coffee Cup Cozies: Elevate your morning routine with adorable cable-knit coffee cup cozies.
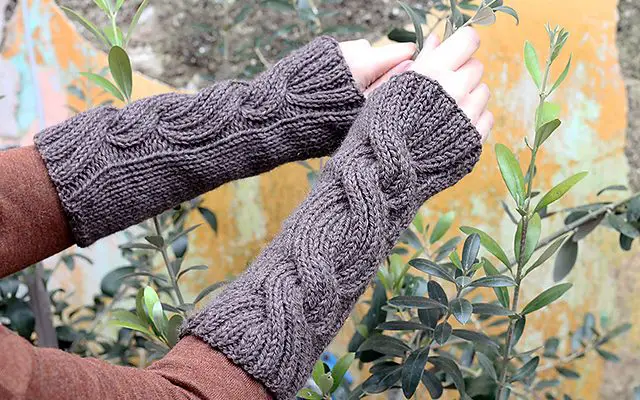
- Wrist Warmers: Cable wrist warmers offer a practical and fashionable introduction to cable knitting.
Conclusion
Cable knitting is a captivating skill that adds depth and character to your knitting repertoire. It opens up a world of creativity and beauty! By following this step-by-step guide, you’ll confidently master the art of creating intricate cable patterns that are sure to impress. So, grab your needles, choose a luxurious yarn, and get ready to embark on a journey of creating stunning textured knits through the magic of cable knitting.


