The Wasp’s Nest stitch is a great knit stitch variation and a member of the Knit & Purl Stitch family.
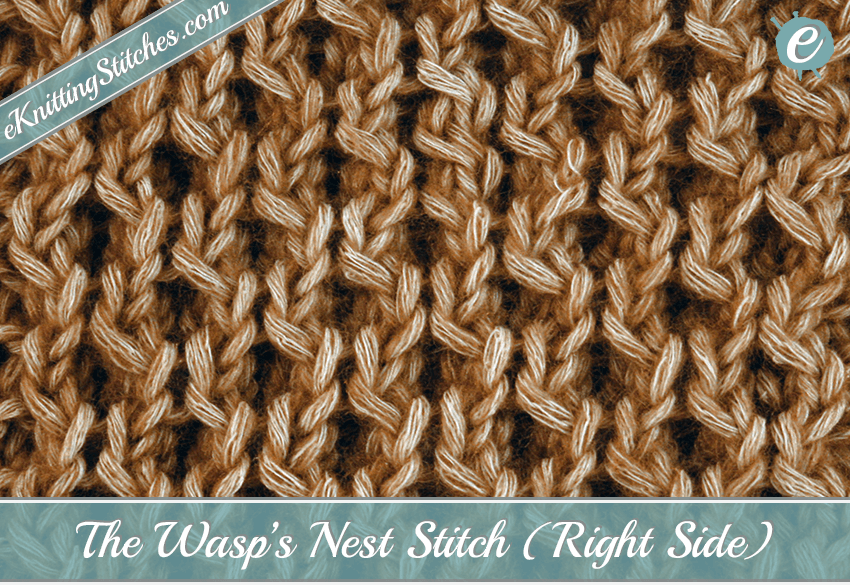
The stitch clearly resembles a wasp’s nest with it’s raised 3-dimensional hexagonal texture. The effect is created by twisting or crossing stitches then knitting them, basically, a mock cable effect without the need for a cable needle.
On first look, these cross knit stitches may seem intimidating, but if it’s new to you, try a few practices on a test swatch, and we’re sure you’ll pick it up pretty quickly.
The stitch has a little bit of give to it and is excellent for paneling on sweaters or if you want to go the full hog, would be fabulous for hats.
Raring to go? Ok, lets head to the instructions…
Instructions
Cast on multiples of four stitches for your project.
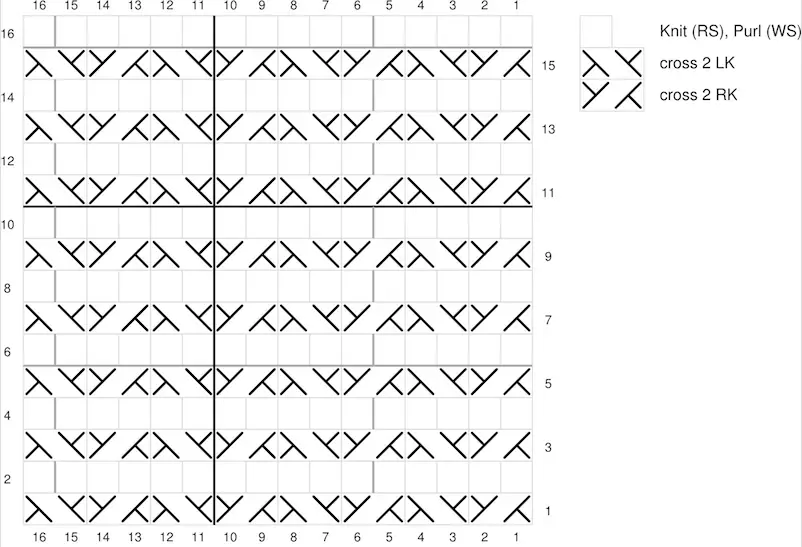
The first row consists of a four stitch repeat; cross two right knit, followed by cross two left knit. For an explanation on how to the do the cross two right left (cross 2 RK/LK) watch the straightforward video from Cat Bordhi below.
For the second row, purl all the stitches.
The third row again consists entirely of a four stitch repeating pattern; this time begin by cross two left knit, followed by cross two right knit. Continue repeating across the entire row.
The fourth row consists entirely of purl stitches again.
Once you have completed row 4, continue repeating rows 1-4 until you have the desired size.
Difficulty level:

Traditional Instructions
Row 1: *cross 2 RK, cross 2 LK; repeat from * till the end of the row.
Row 2: p all stitches.
Row 3: *cross 2 LK, cross 2 RK; repeat from * till the end of the row.
Row 4: p all stitches.
Repeat rows 1-4 to desired length.
Wasp’s Nest Stitch Chart

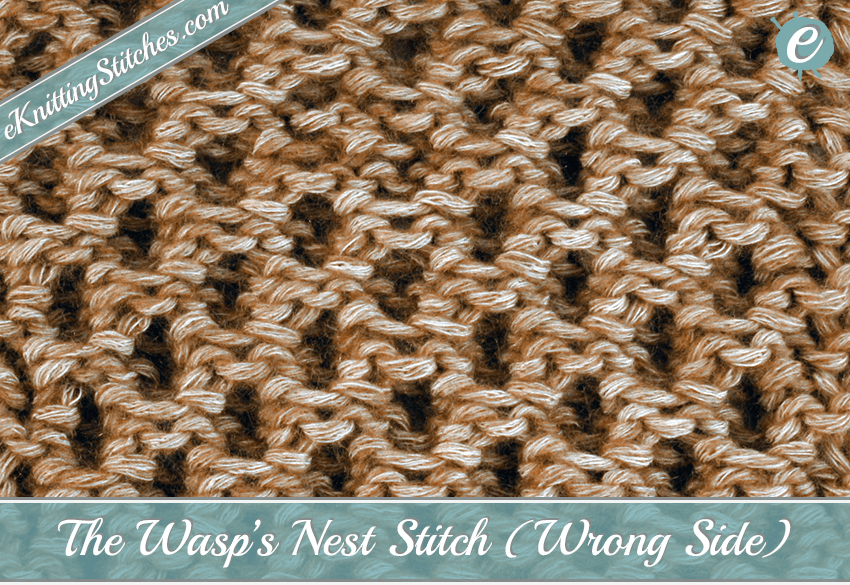
Wasp’s Nest Stitch Swatch Examples

